Difference between revisions of "Where to swap (y)"
From HexWiki
(Updated Regular size 9: A4 and B4 both lose to D4) |
(Updated Regular Size 9: B3 loses to D4. Initiated Size 10.) |
||
| Line 71: | Line 71: | ||
2:SSSSSSSRR | 2:SSSSSSSRR | ||
3:SSSSSSRRR | 3:SSSSSSRRR | ||
| − | 4: | + | 4:SSSSSRRRR |
5:SSSS_RBR_ | 5:SSSS_RBR_ | ||
6:SSSRRBBRR | 6:SSSRRBBRR | ||
| − | 7: | + | 7:SSRRBBBRR |
| − | 8: | + | 8:SRRRRRRRR |
9:RRRR_RRRR | 9:RRRR_RRRR | ||
| + | </hex> | ||
| + | |||
| + | === Regular Y / Size 10=== | ||
| + | <hex> C10 R10 | ||
| + | 1:SSSSSSSSSR | ||
| + | 2:SSSSSSSS__ | ||
| + | 3:SSSSSSS___ | ||
| + | 4:SSSSSS____ | ||
| + | 5:SSSSS_____ | ||
| + | 6:SSSS______ | ||
| + | 7:SSS___B___ | ||
| + | 8:SS________ | ||
| + | 9:S_________ | ||
| + | 10:R________R | ||
</hex> | </hex> | ||
Revision as of 17:38, 19 November 2011
- the red marked hexes should not be swapped
- the blue marked hexes should be swapped
- the star marked hexes are defining the Y board.
Contents
- 1 Regular Y / Size 2
- 2 Regular Y / Size 3
- 3 Regular Y / Size 4
- 4 Regular Y / Size 5
- 5 Regular Y / Size 6
- 6 Regular Y / Size 7
- 7 Regular Y / Size 8
- 8 Regular Y / Size 9
- 9 Regular Y / Size 10
- 10 Regular Y / Bent-27
- 11 Master Y
- 12 Master Y / Size 2
- 13 Master Y / Size 3
- 14 Master Y / Size 4
- 15 Master Y / Size 5
- 16 Master Y / Size 6
- 17 Master Y / Bent-27
Regular Y / Size 2
Regular Y / Size 3
Regular Y / Size 4
Regular Y / Size 5
Regular Y / Size 6
Regular Y / Size 7
Regular Y / Size 8
Regular Y / Size 9
Regular Y / Size 10
Regular Y / Bent-27
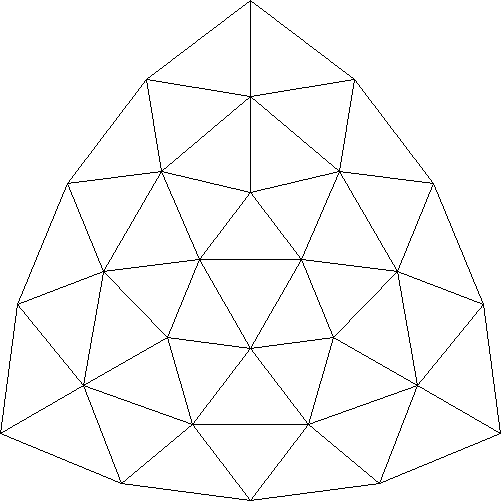
This board (on which the pieces are placed on the intersections) should be within reach for computers, but no results are known so far.
Master Y
In Master Y, the first player places one piece on the board, and each subsequent move consists of placing two pieces on the board.
- the red marked hexes are losing first moves
- the blue marked hexes are winning first moves
Master Y / Size 2
Master Y / Size 3
Master Y / Size 4
Master Y / Size 5
Master Y / Size 6
Master Y / Bent-27
Again, status unknown but presumably within reach for computers.
