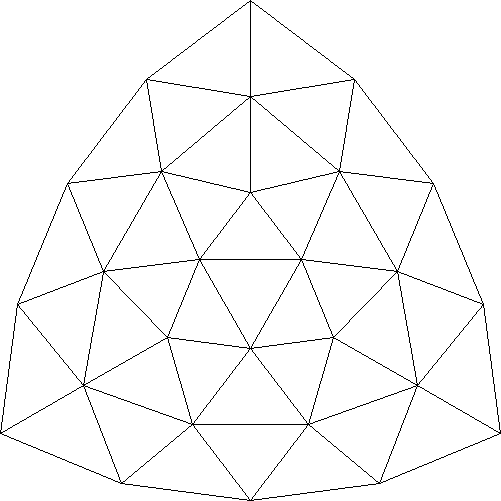
Where to swap (y)
- the red marked hexes should not be swapped
- the blue marked hexes should be swapped
- the star marked hexes are defining the Y board.
Contents
- 1 Regular Y / Size 2
- 2 Regular Y / Size 3
- 3 Regular Y / Size 4
- 4 Regular Y / Size 5
- 5 Regular Y / Size 6
- 6 Regular Y / Size 7
- 7 Regular Y / Size 8
- 8 Regular Y / Size 9
- 9 Regular Y / Size 10
- 10 Regular Y / Bent-27
- 11 Master Y
- 12 Master Y / Size 2
- 13 Master Y / Size 3
- 14 Master Y / Size 4
- 15 Master Y / Size 5
- 16 Master Y / Size 6
- 17 Master Y / Bent-27
Regular Y / Size 2
Regular Y / Size 3
Regular Y / Size 4
Regular Y / Size 5
Regular Y / Size 6
Regular Y / Size 7
Regular Y / Size 8
Regular Y / Size 9
Up to symmetry, the only move with unknown status is the middle cell along an edge. So suppose Blue plays first here. By a strategy stealing argument, Red can not hope to win by responding with another middle edge move. This leaves only the six marked cells to be investigated.
If Red plays one of these two marked cells, Blue can win by responding with the other one (!).
Red might like to try this move. It is a natural choice, since it wins if Blue had played any of the marked cells instead as his first move.
However, it is currently unknown who wins if Blue plays either of the two marked cells next. All others are losing for Blue.
If Blue in fact has a winning move in the previous position, Red essentially only has one option left. In this case, it seems to be more difficult to narrow down Blue's follow-ups.
Regular Y / Size 10
Regular Y / Bent-27
This board (on which the pieces are placed on the intersections) should be within reach for computers, but no results are known so far.
Master Y
In Master Y, the first player places one piece on the board, and each subsequent move consists of placing two pieces on the board.
- the red marked hexes are losing first moves
- the blue marked hexes are winning first moves
Master Y / Size 2
Master Y / Size 3
Master Y / Size 4
Master Y / Size 5
Master Y / Size 6
Master Y / Bent-27
Again, status unknown but presumably within reach for computers.
